ForeFlight tips for the iPhone
One of the best things about ForeFlight Mobile is that a single subscription will work on multiple devices, including an iPad and an iPhone. While the iPhone may not be as well-suited to cockpit use as the iPad, it’s still a great backup and is completely legal as a source of charts. It’s good practice to always have a few charts downloaded to your iPhone, just in case the worst happens.
But there are some differences in how the app works on the smaller screen, so let’s explore some tips for easier ForeFlight operation on the iPhone.
Two menu options
The first thing to consider is which menu layout you prefer. ForeFlight recently introduced a new slider-style menu that moves in from the left side of the screen. This is similar to what you would find in many newer apps (think Facebook), and it gives you quick access to a lot of information. For example, instead of tapping Airports, then Recent, then an airport name, the slider menu allows you to tap right on one of your three recently used airports. It’s a time saver once you know how to use it.
But not everyone likes the new menu layout, so ForeFlight also offers the classic grid-style menu. This can be enabled from the Settings page in the app. In this presentation, each menu item features a large icon, which can be easier to hit in turbulence. The same information is presented in both layouts, so you’re not missing anything by choosing one over the other.
Use favorites and recents
On a phone, the less typing the better, so make good use of the favorites and recents features. These are available on the Airports and Imagery pages, and they allow you to view recently accessed or favorite pages without having to search around or type in anything. Recents are automatically populated, so there’s nothing for you to do (in slider menu format, your top 3 recents are displayed right in the menu). Favorites must be manually selected–tap the “Add to Favorites” button on an Airports page or tap the star in the top right corner of an Imagery page.
One of the best uses of ForeFlight on an iPhone is to check weather on the go, and with some smart use of these two quick access features, you can get a lot of weather information in just a minute or two.
Use the search box
ForeFlight’s search box is a very powerful tool on the iPad (check out some great tips here), but it’s just as useful on the iPhone. If you want to find the latest METAR for an airport, view an approach plate or create a new route, it can all be done from the search box. In particular, the route feature is an easy way to do preliminary flight planning. For a flight from Sporty’s to Oshkosh in a 172, enter I69 KOSH 110KTS 6500FT 9GPH. That will bring up a route page for the trip (at 110 knots and 6500 ft), including winds aloft and fuel burn.
Route Advisor is not on the map
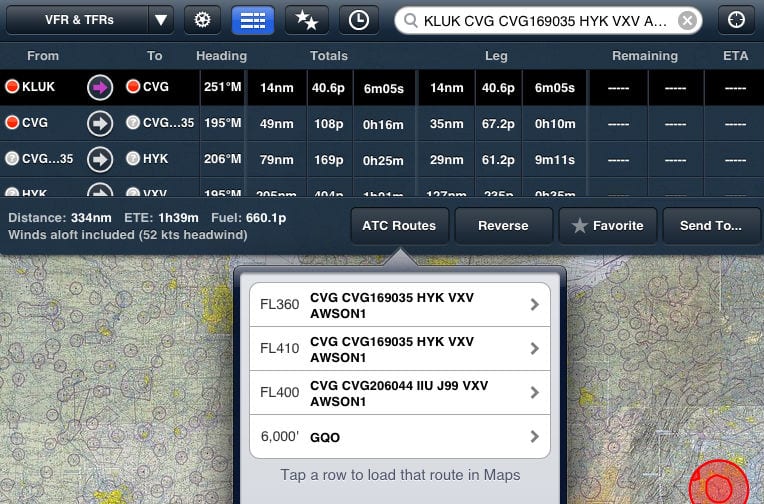
One of the most powerful features on the iPad is the Route Advisor, which tells you what routes other aircraft have flown between your departure and destination. On the iPad, this is viewable on the Maps page, by tapping the Edit button at the bottom of the NavLog. But this tool is in a different spot on the iPhone–you’ll need to select the Route option (from the grid menu) or Create (under Routes in the slider menu). From there, you can enter a route and tap the Route Advisor button.
Map enhancements
Route labels and extended centerlines are two popular features on the Maps page. On the iPad, these options are selected from the little gear symbol on the Maps page. On the iPhone, the gear button is still there, but these options aren’t. To enable these features, go to the Settings page and select them on.
Nearest airports
The nearest airports function has a dedicated menu listing at the top of the slider menu, making it quick and easy to access this information if you need to divert. The iPad has this too, but it’s located in the Airports tab. It’s important to know where this is depending on what device you are using.
Share flight plans
Here’s a handy way to plan on your iPhone and fly on your iPad. After choosing a route, tap the “Send to…” button at the bottom right and email your flight plan to yourself. Then you can open it on your iPad and all the routing details will be loaded. This is also handy for sending a route to a copilot.
Turn off Airplane Mode
Unlike the iPad, every iPhone has a built-in GPS. This isn’t as reliable as an external GPS, but it can be very handy for locating nearby weather or basic flight planning. But remember to leave Airplane Mode OFF–turning this mode on disables the internal GPS. If you want to prevent interference and improve battery life, manually turn off 3G/4G and WiFi, but leave Airplane Mode alone.
No Plates or Documents
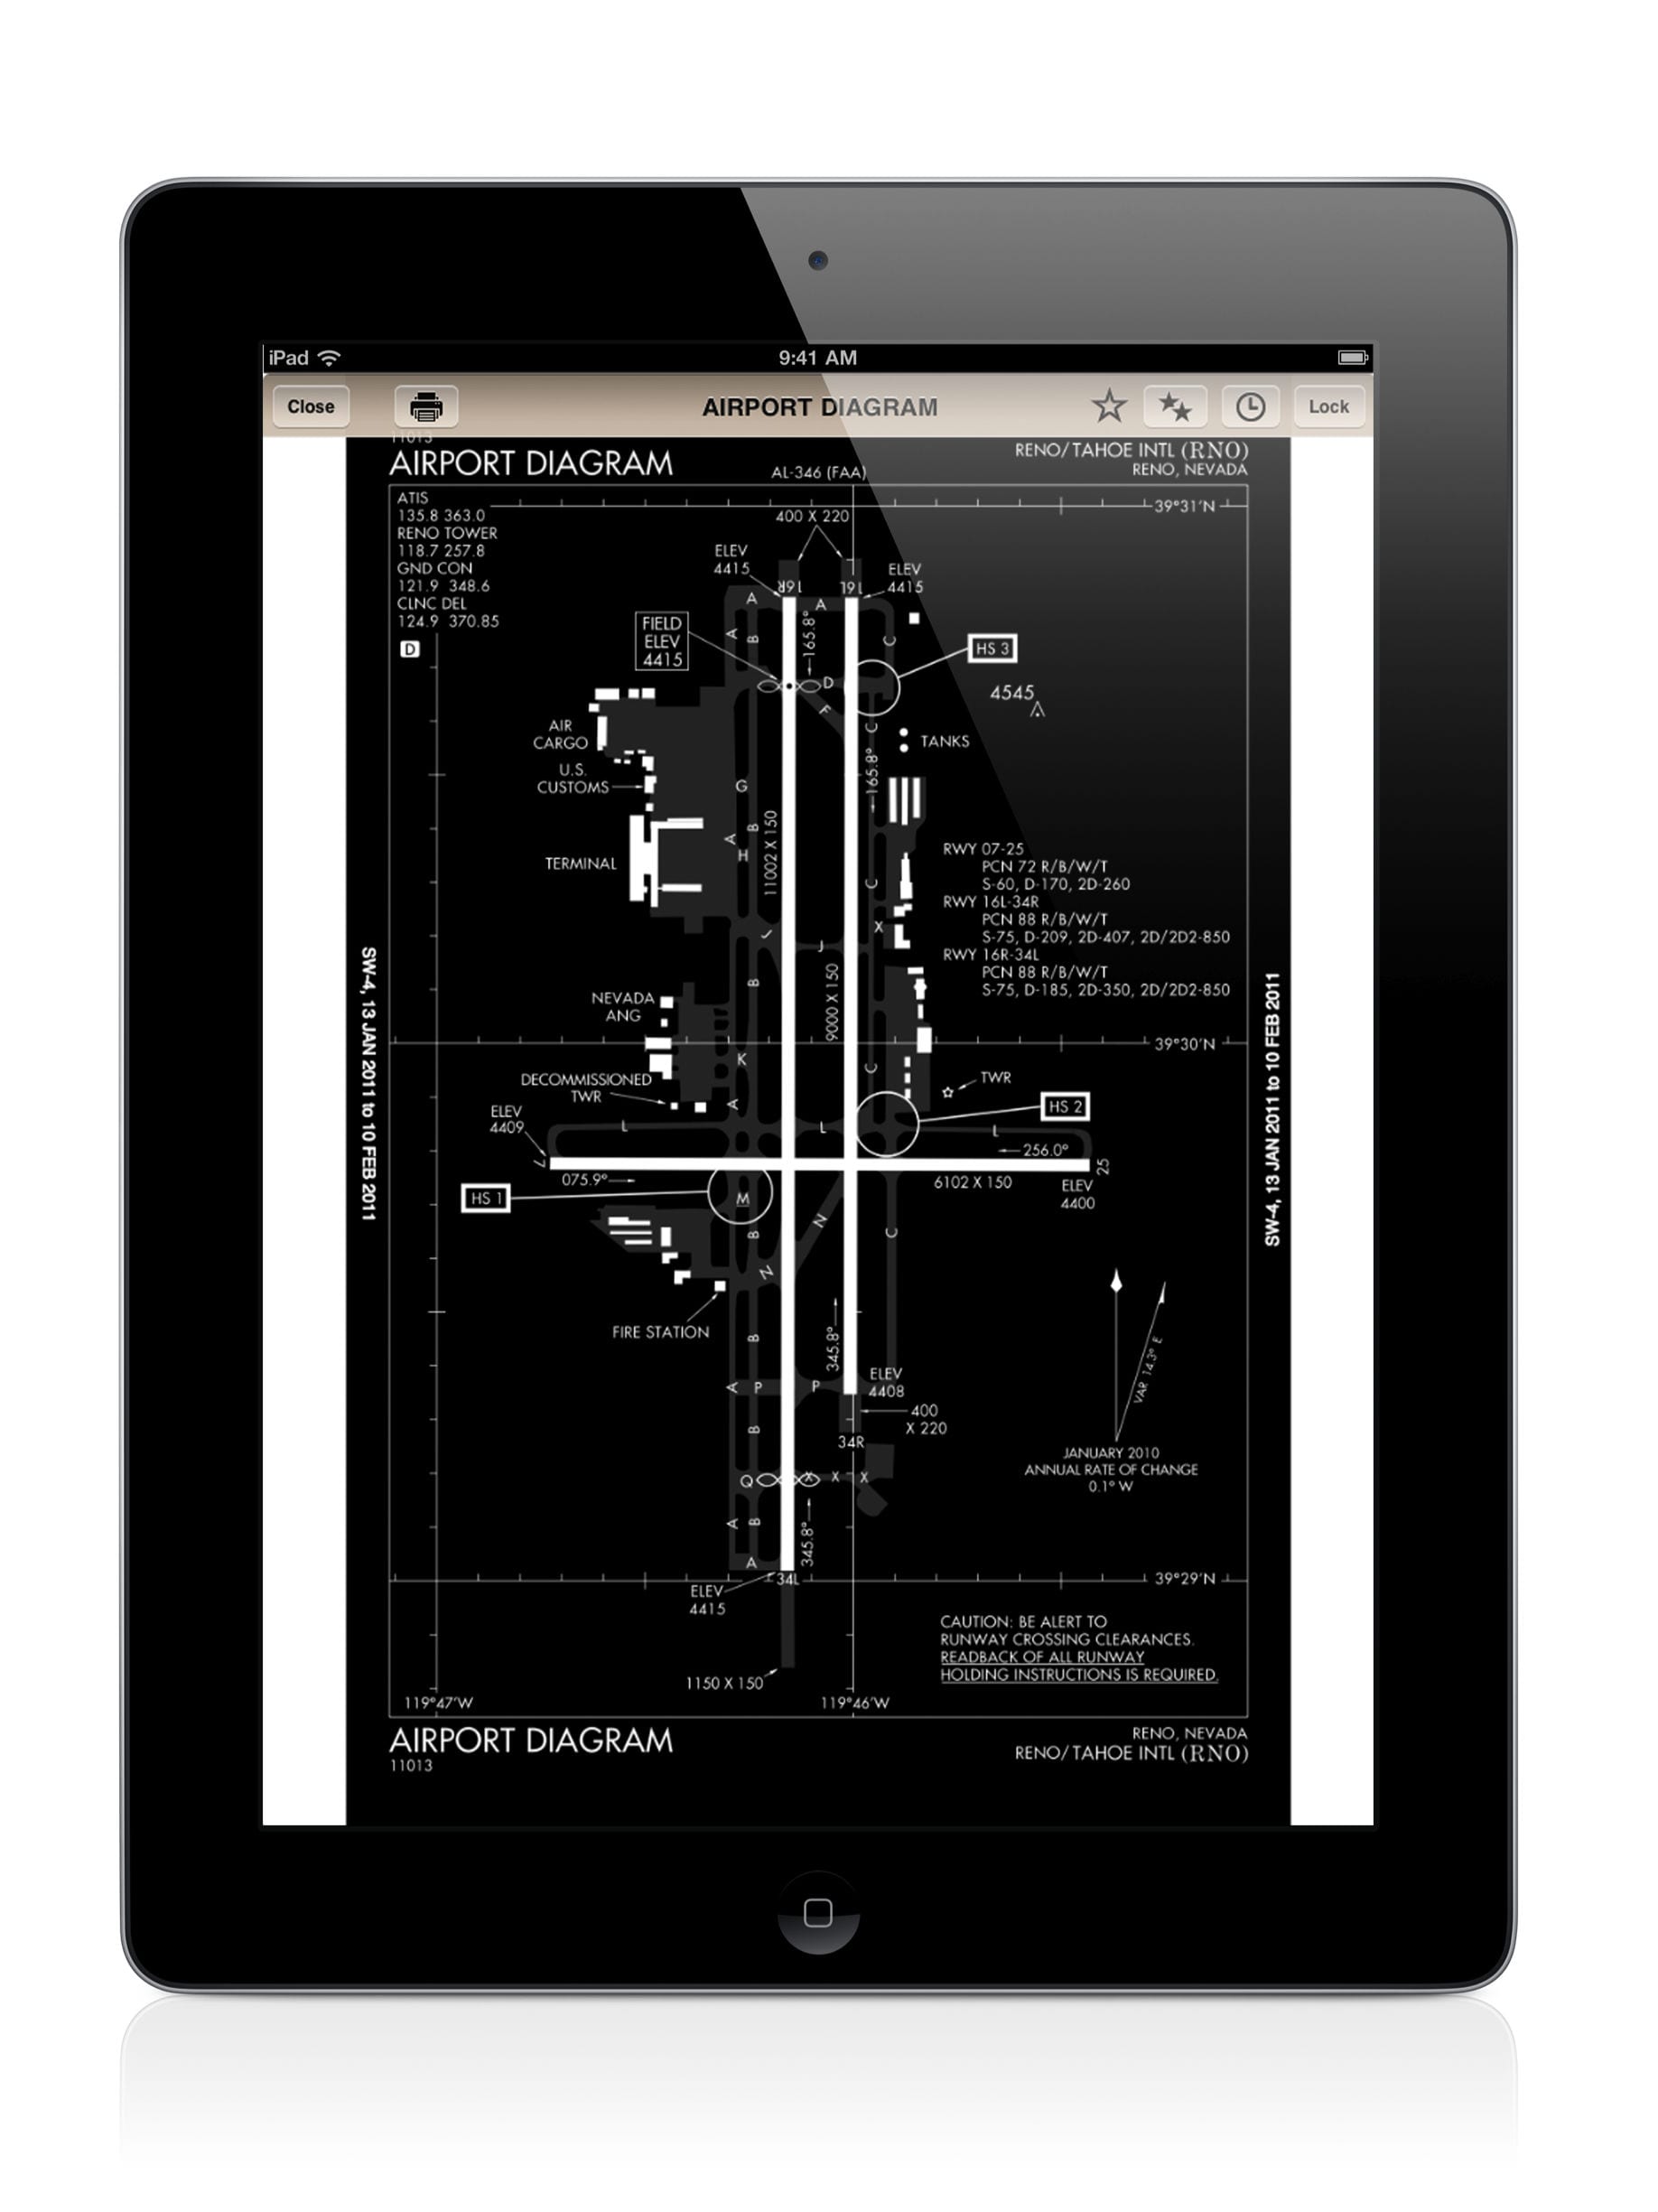
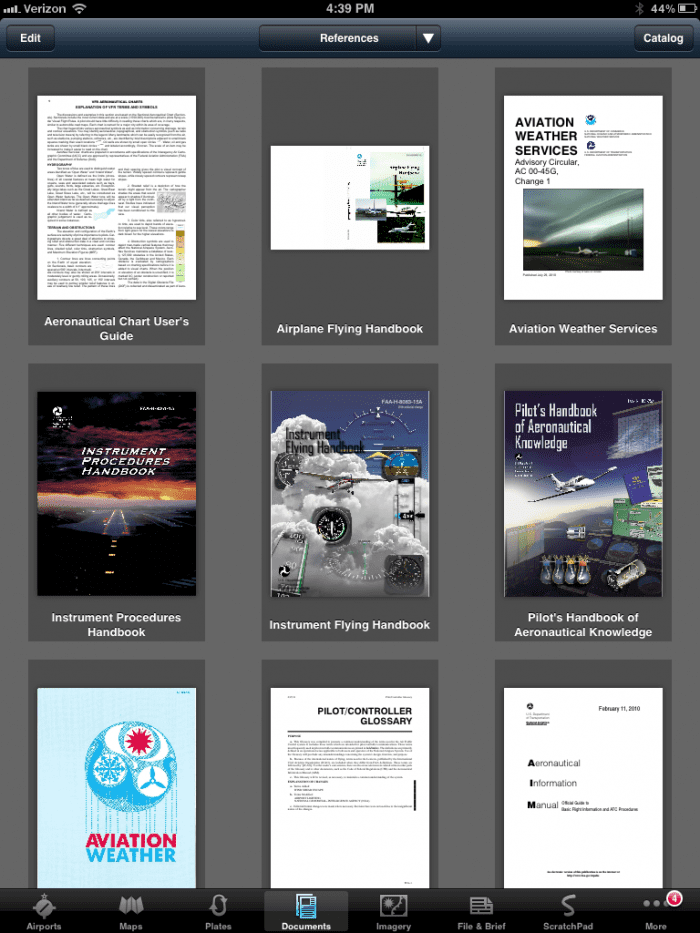
Some features simply can’t be accommodated on the iPhone’s small screen, so there are no Plates or Documents pages. You can still view approach plates, you just have to access them from the Airports page. With these exceptions, practically every other ForeFlight feature can be used on both an iPad and an iPhone.
- How to Improve Your iPad’s Battery Life - February 19, 2026
- Do I really need to use Airplane Mode on my iPad or iPhone Pilot? - December 31, 2025
- Flying with the Garmin D2 Mach 2 and D2 Air X15 - October 28, 2025


How do I delete a light plan from my iPhone?
Go to Routes in the menu–let’s take Recent for example. You’ll see a list of recently used routes. Swipe from right to left and you’ll see a red delete button appear. You can tap that to confirm.